The Work Placement
- BLENDER - UNITY - VUFORIA - QUIXEL BRIDGE -
Client Brief and Research
The company I secured a work placement with was Safer At Work, the training and equipment division of Renewable Field Services Ltd. To recap, they offer a wide range of safety training packages/courses, all tailored for their customers to meet the requirements of the GWO (Global Wind Organisation) Certification. This is the same company I had worked on a project for last semester in Year Two, and they were happy for me to stay on and expand on the previous project. We set aims in meetings to expand the Augmented Reality Cards across more than just the basic first aid essentials, and ventured into creating AR models for Fire Awareness, Electric Shock and Hypothermia to name a few. This objective was agreed to be met within a 15 week period, splitting the workload within those weeks in the most efficient format.
I chose to again use blender as my main 3D modelling software as it is the one i am trying to become most skillful with, and alongside this, Unity for the Augmented Reality aspects using the Vuforia plug-in, which although I wanted to use to further my knowledge of the software, I also wanted to use it to have an industry standard skill under my belt. In addition to these, I chose to again use Quixel Bridge in order to transfer over the perfect textures to play around with in blender and unity and find what worked both efficiently and realistically. Going back to Vuforia Engine, it offers object detection from given targets for recognition, which allows developers the ability to upload images, models, and other target types to be detected. When exploring how technically feasible the extended project was, I came to the conclusion that it was once again very feasible, in fact more so than before as I had proved we could create what we wanted from last project, and so this time was more reinforcing that than creating something brand new from scratch. See here for previous work.
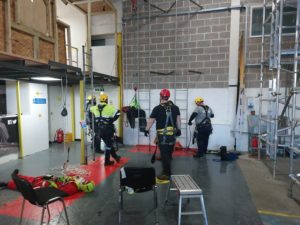
My research involved going into the workplace and taking part in several of the health and safety training courses, and even achieving certificates in some of them, allowing me to see the ins and outs of the training to create a full image of what could be created. This gave key information such as, what models needed to be created, which models would need to be in the same apps as others and how they would need to interact with real life objects also.

Planning
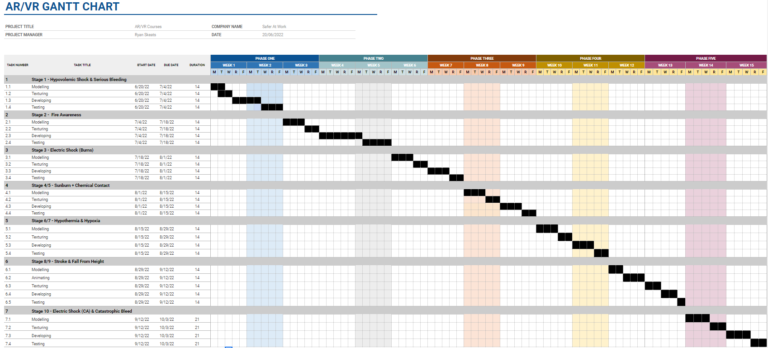
One of the first stages of the planning for this project was time management. I created a GANTT chart detailing each step of the project over its 15 week period, with every 2-3 weeks typically being a new scenario to work on. We chose to split the workload into scenarios because it allowed me to link some of the work over to courses with similar needs and so could transfer over any previously completed work while fresh. Furthermore, it set solid deadlines for myself to keep to in order to get the work done on time, improving my time management skills in the process. There were also meetings every week as I was going to the workplace frequently and discussing the work and keeping them up to date with progress.
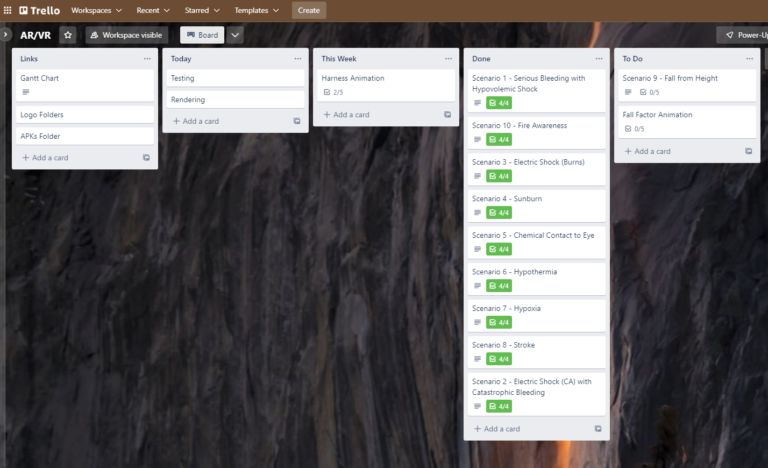
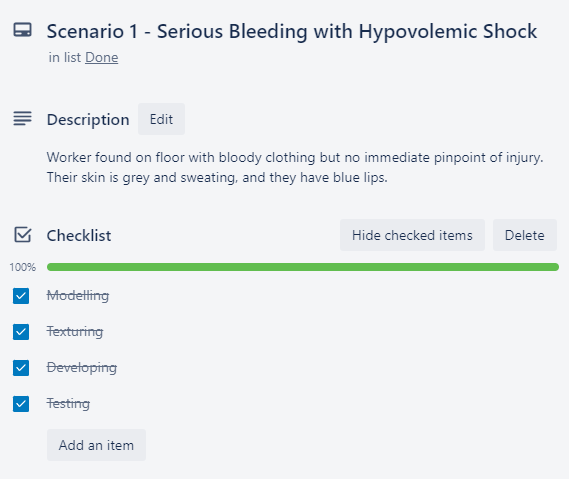
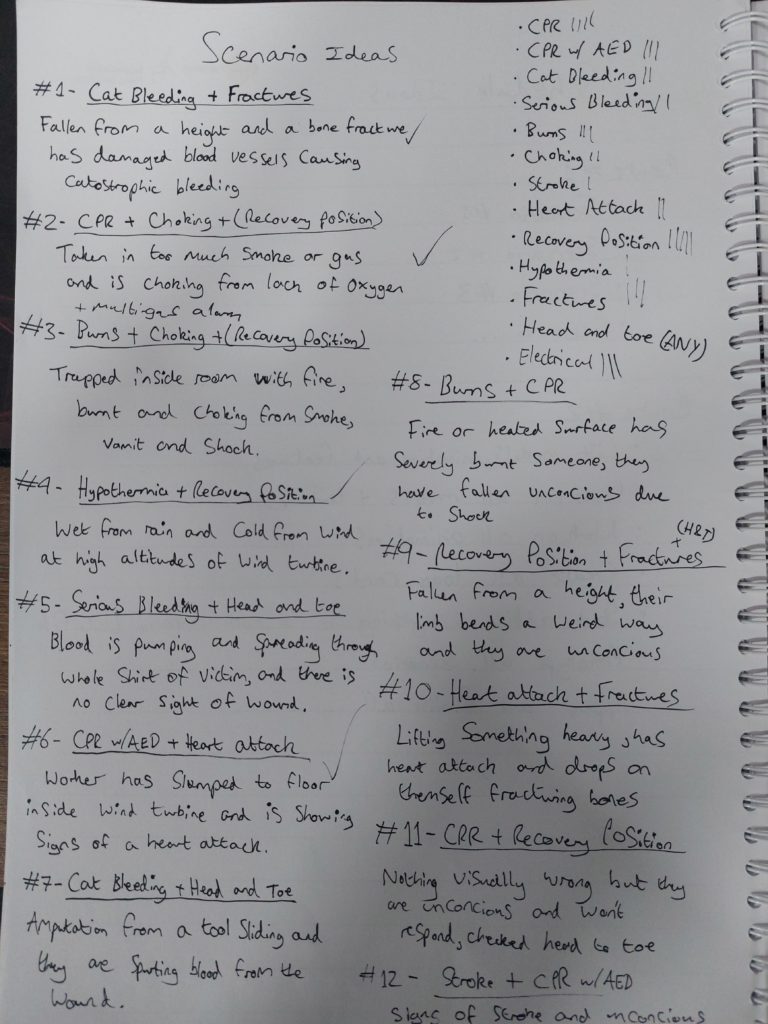
The scenarios were created in a brainstorming session early on in the work placement and they helped to clearly describe the training exercise that would be performed in session, and so from this the models and way they would be used could be pinpointed ready for development. In order to keep track of scenario progress, the online tool Trello was used as a checklist and to keep myself on the right path.
An idea that didn’t make it through to further development was creating an animation of a worker falling from a tall structure to be used as part of the working from heights course. However, due to the complexity and awkwardness of the AR recognition software, this was decided to be worked on potentially at a later date past the time of this placement.
The final step before the the design process was checking whether this planned work would support the Sustainable Development Goal 17 (SDG 17). To my understanding, this work would heavily be following SDG 17 as it would offer the simulated environment and interactions whilst minimalising real life dangers. Versions of android devices with software as early as Android 6.0 ‘Marshmellow’ and an API level of 23 can all run the AR software. This is the lowest Application Programming Interface (API) level for this project because that’s the “minSDKlevel”, Software Development Kit (SDK) level, set with the versions of software I am using.
Design Process
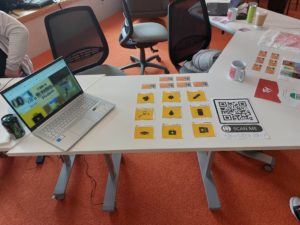
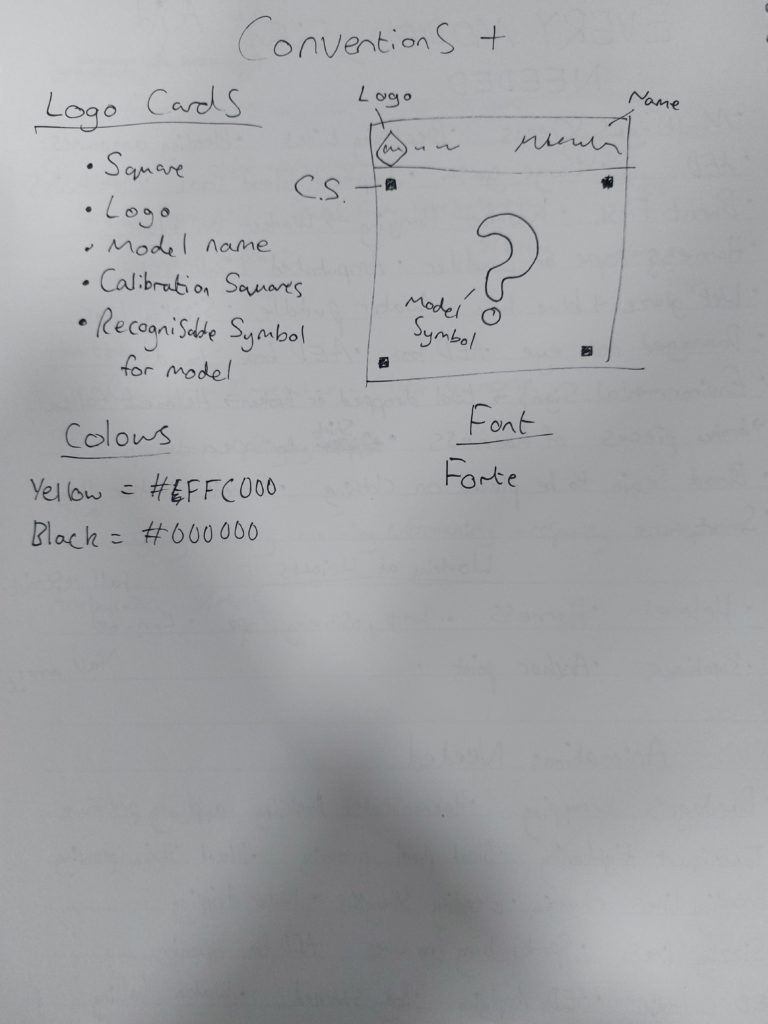
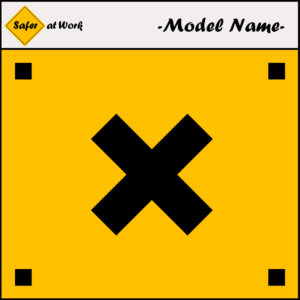
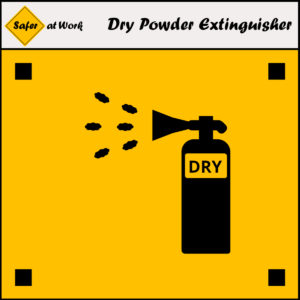
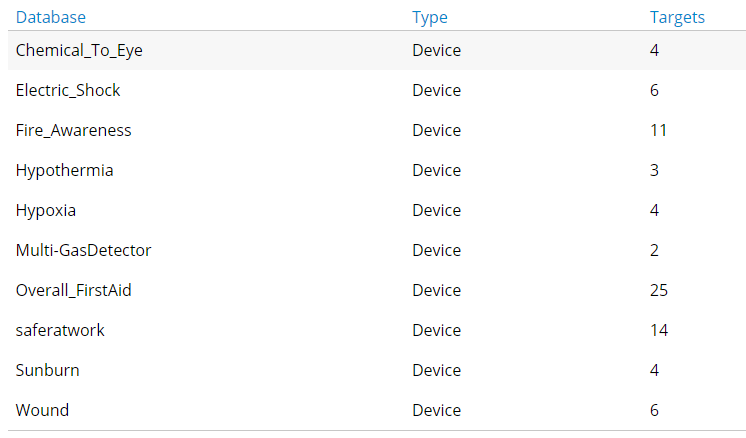
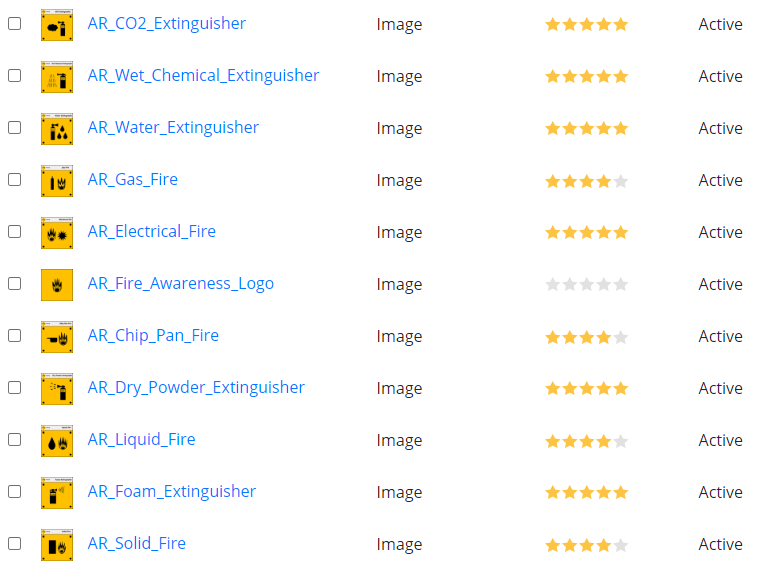
Designing the new AR cards was a quicker part of the work placement as I had already created a template to work with. The only change I made was implementing additional tracking points on the cards to help the recognition software on the vuforia website but also within the final app. This allowed the software to track the logo cards accurately from further away and at more angled positions and although still not perfect, would prove useful in development. I kept in line with the company conventions still and so no updates were made there to keep the identity consistent. The Vuforia software has a rating system it uses to rank how recognisable image targets are, and I made sure to again make the image targets 4/5 stars for maximum effectiveness, which can be seen further into this page.
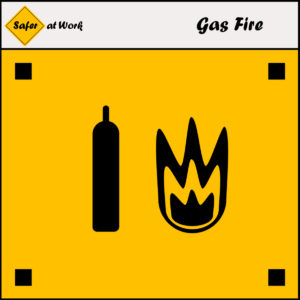
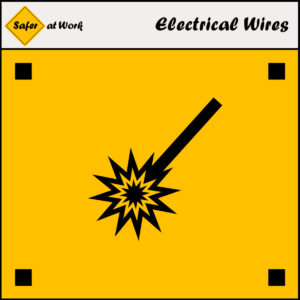
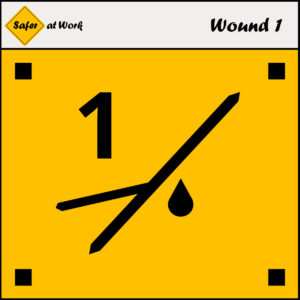
For the modelling side of the project, I created a list of the different scenarios and their equipment/features that would need to be included within the project, some of which would have multiple occurences in multiple apps. The models had to be the correct scale for use in the real world through AR and so I had measured them against the previously modelled first aid kit and also their real life counter parts to certify their optimal realism. A plethora of models were chosen for creation such as:
- bleeding wounds
- gas detector screen
- gas cooker
- hypothermia suffering hands
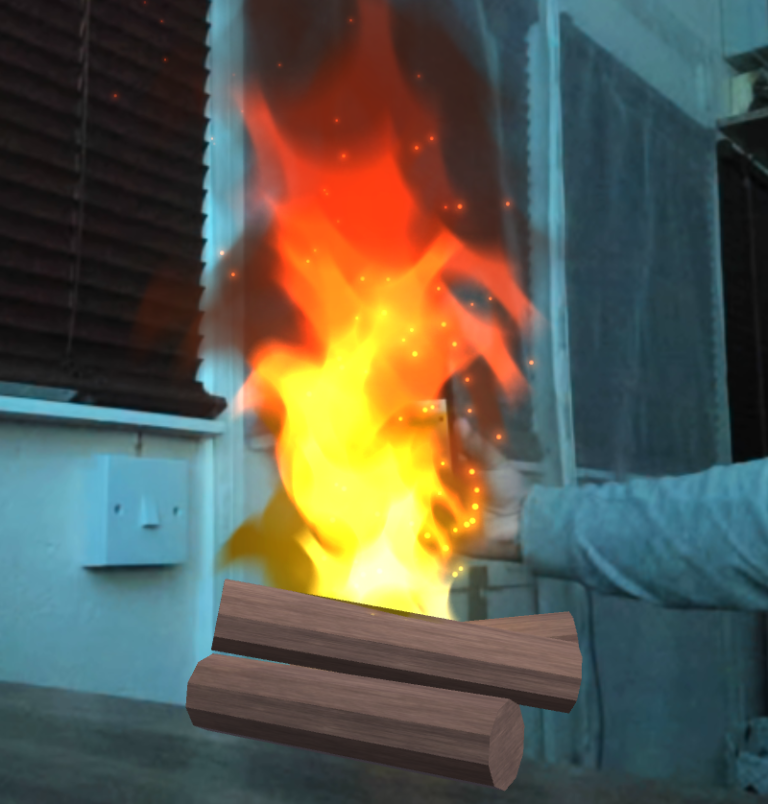
Some of these listed (bleeding and fire) also needed animations to create the illsuion of reality, and so Unity particle systems were going to play a large part in this work to come.
Modelling and Texturing in Blender
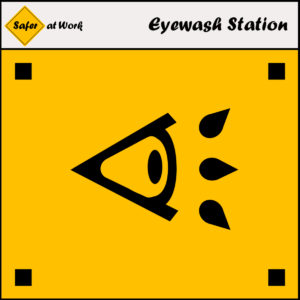
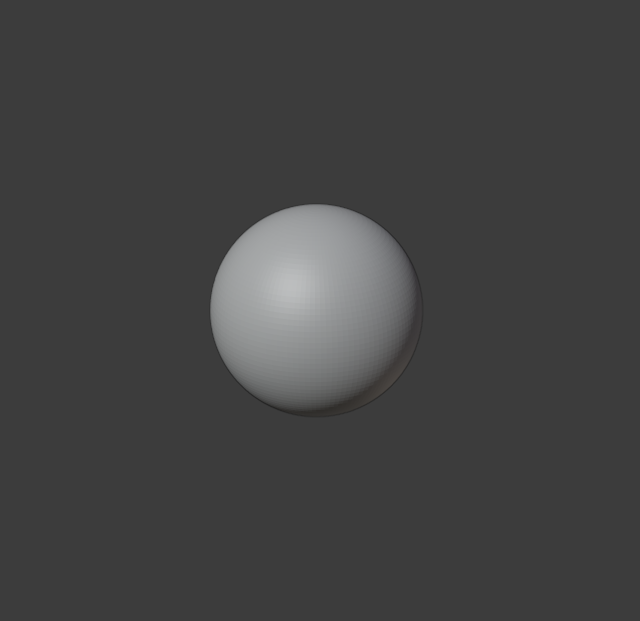
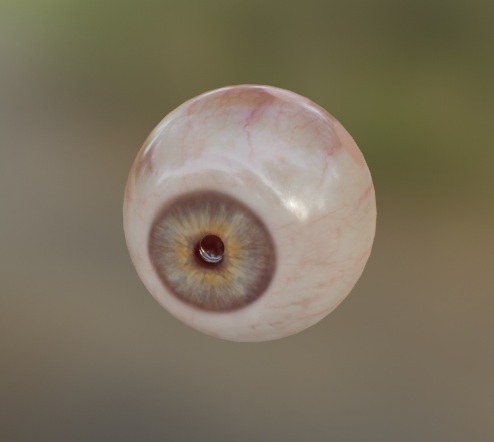
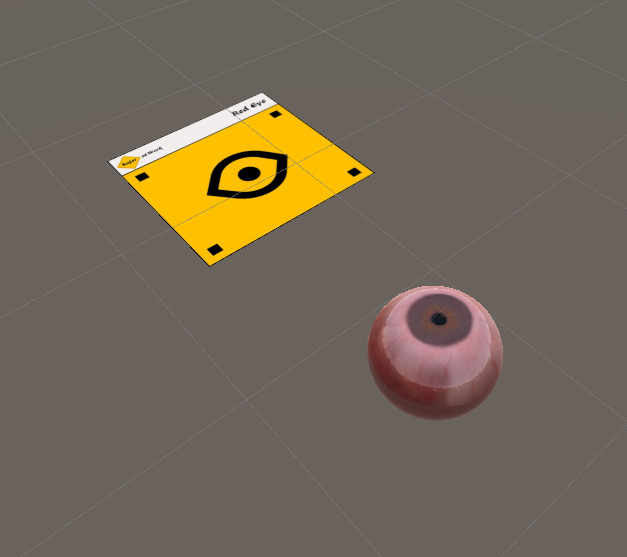
Making each of the models involved several steps; block modelling to scale, sculpting to the right shape, UV unwrapping and texturing. One of the more detailed models I worked on was a human eye, which would be very red at the end due to a chemical coming in contact with it.
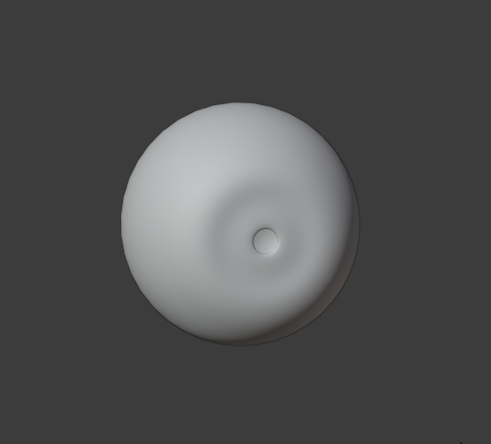
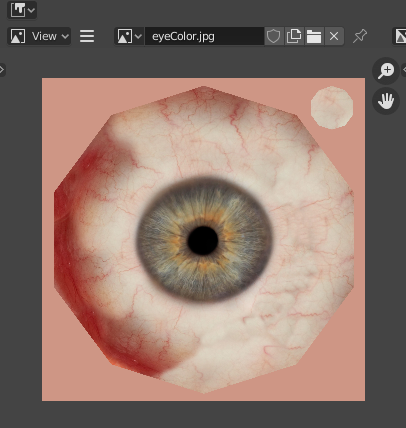
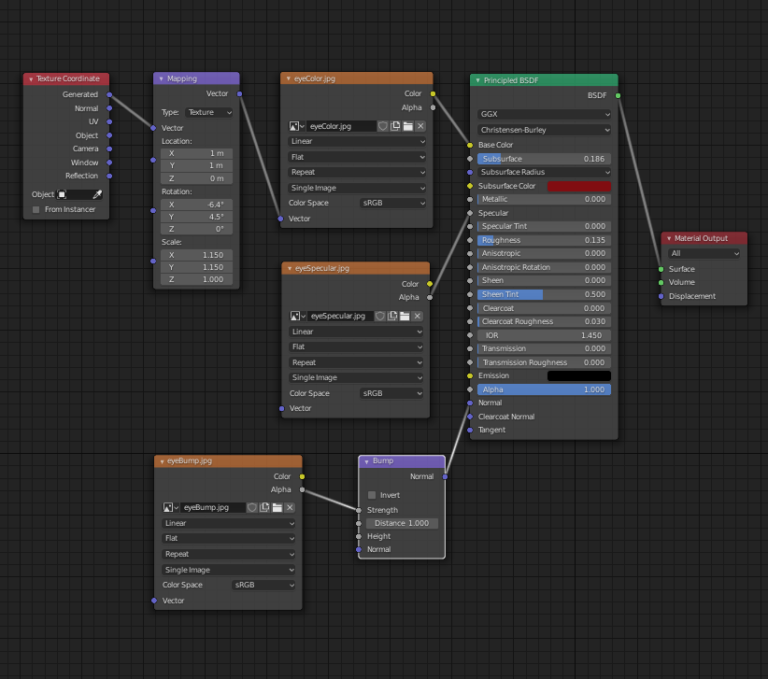
I started by adding into the scene a plain sphere, with the edge loops increased on both axis in order to start with a smoother base shape. Then, a subdivision surface modifier was added to the model to make the eye completely round in view and ready for sculpting. In the sculpting tab, I created the cornea by extruding a round pit in the centre of the eye where the pupil texture would sit. Then, the free-to-use realistic eye textures downloaded here were imported into blender and selected in image texture nodes for connecting to the eye model. Once all were imported, the node system was connected, using texture coordinate and mapping nodes to correctly wrap the eye colour texture over the model with minimal artifacts visible. From here the modifiers and textures are applied and ready for exporting into Unity. Once exported into Unity, the textures would be modified to create the wet surface, and redder tint portraying the injury recognisably. In addition to this, the model would be scaled down to its real life size.
Other textures for the array of models would be imported in through Quixel Bridge and would help create realistic and custom resolution textures across the board.
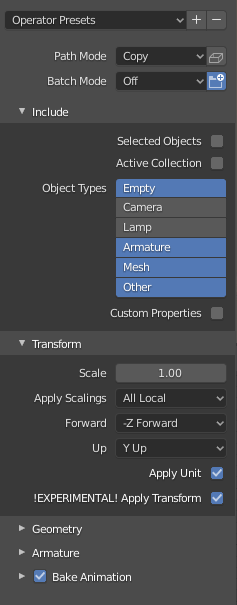
Exporting gave multiple options on file type, both with their own advantages but in the end, I chose to use a mixture of both .fbx and .blend and this is because of textures importing. When .blend files are imported into Unity, they allow the import of the textures too seperately, but then only need reconnecting to their models in order to re-map correctly. I used .fbx exporting when i would be adding in textures in Unity and not blender beforehand. With this, I made sure to reduce poly count on the models where possible and to bake textures onto models as the smaller the Unity project the better download speed as an APK.
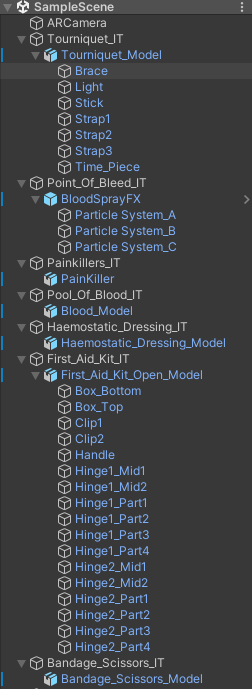
Below is a showcase of all First Aid related models exported into Unity.
Using Vuforia in Unity
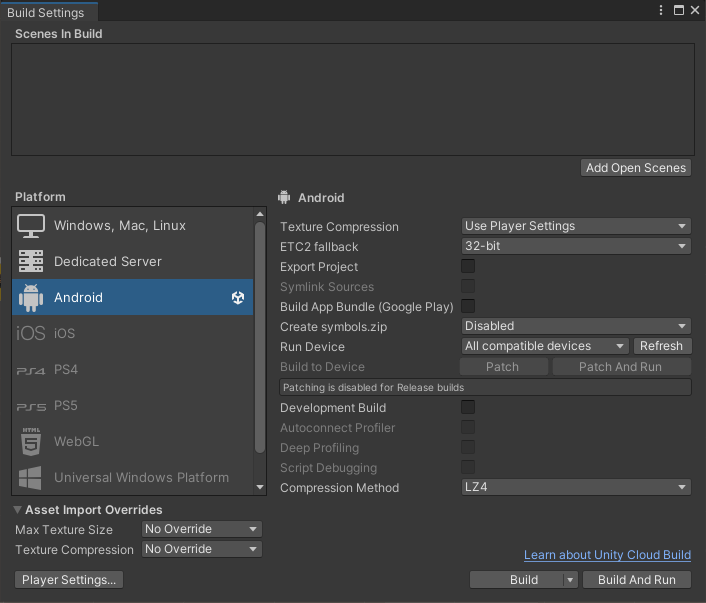
With all the textured models imported to the Unity file, it was time to set up Vuforia for the Augmented Reality functionality. The first step was to go into the build settings and make the file platform Android, and then in the player settings go to other settings and check the Minimum API level, making sure it is the previously stated Android 6.0 ‘Marshmellow’ setting. This has allowed the file to be built as an APK.
The next step was to add the Vuforia plug-in from their website and make an account. I had already made an account to upload the image targets to a database ready, so I simply needed to copy the license key, add an AR Camera into the scene and add the license key in the appropriate section on it’s ‘ Vuforia Engine Configuration’ settings. The added AR Camera uses the camera of the device the APK will be installed on to simulate the models from the recognised AR cards.
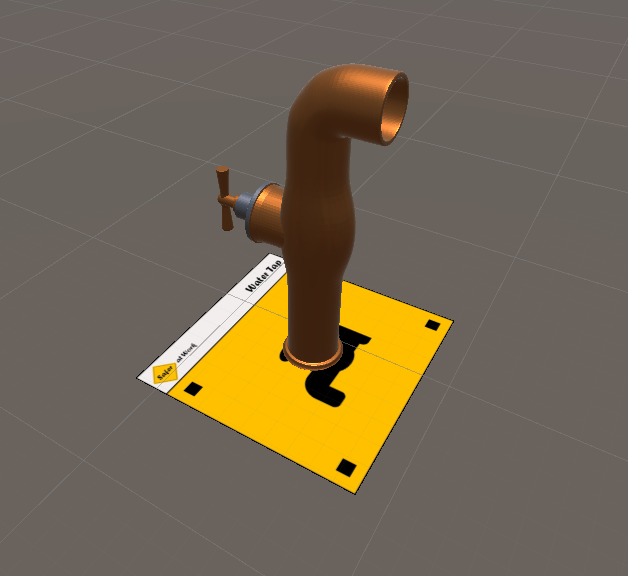
Leading on from the AR Camera, Image Targets were now to be created. Image Targets require the user to choose a database to select the appropriate Images from, and so on the Vuforia website Target Manager I chose to download the database to Unity Editor, and ran the Unity package file to import the database. Once imported, each Image Target was allocated their Image and the models were parented to them and placed on the AR Cards with adjusted correct scale. This was shared with the client as a progress update and demonstrated on the game view and they were very pleased and further offered feedback on speeds for the particle systems to be created for blood and sparks animations that will be parented to some of the models.
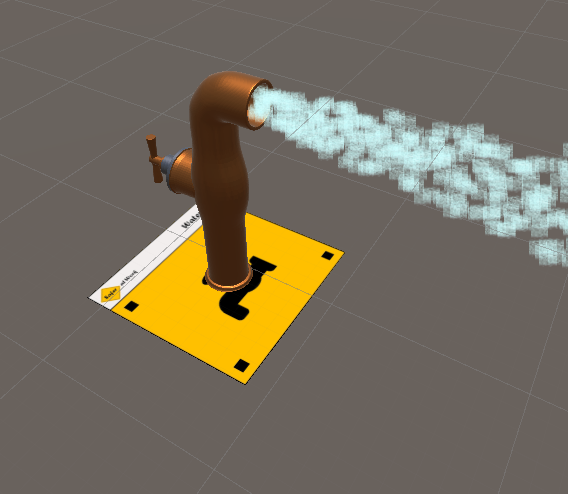
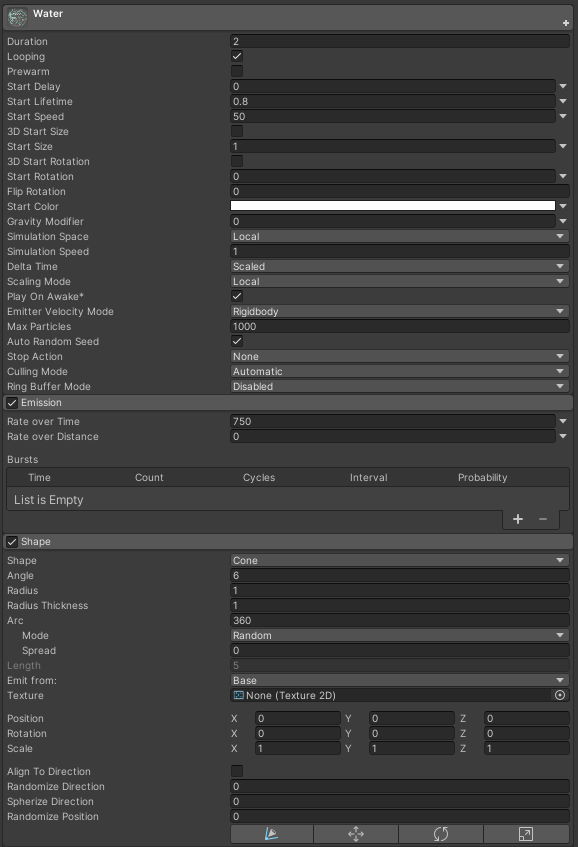
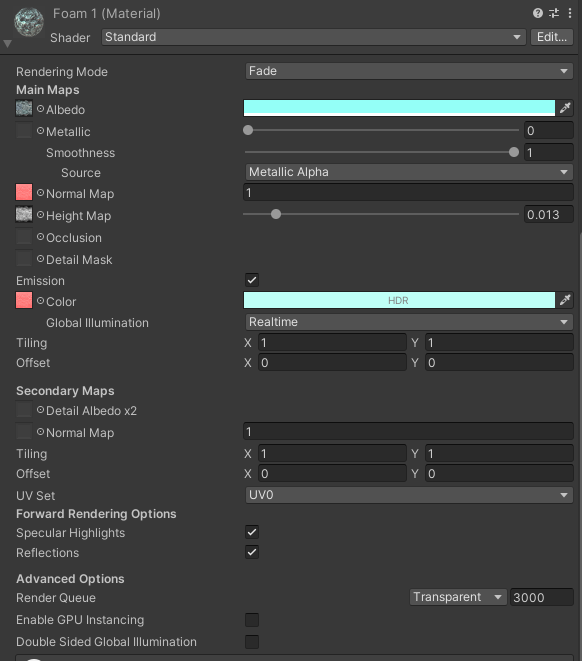
The animations for fire, extinguisher sprays and blood spouting were created using particle systems. These systems allow the complete customization of particle texture, speed, cone of spray and so on. Through this, I was able to add in an assortment of free textured and play around with their colouring and shape to create the most similar effect to their real life counter-parts.
Testing, Fixes and Changes
Having everything included in the Unity file and extracted into an .apk file ready for download, the testing stage could now begin. The testing was completed by three parties, myself (the developer), the company (SaferAtWork) and the end users (course attendees). Together several changes both minor and major were picked up on and discussed in great detail, allowing for excellent feedback to work from. For example, one piece of feedback we all found was that the apps when picking up multiple AR cards, would sometimes stutter or even pick up the wrong models entirely! This was due to some of the cards having similar logos and so I went back and changed their shapes and sometimes completely remade them to co-exist better in the app.
Another change that came quite late into the work placement was replacing all of the first aid related apps with one big app. The main reason multiple were created in the first place was to reduce file size and offer the smoothest experience with the software, reducing lag. This however, was found to be simply an obstacle with a solution that simply needed more time to come across. I had found a way to reduce file size without compromising quality or functionality of the software.
The download size of the overall first aid .apk file was approximately 108mb which when considering the amount of models and AR cards involved, can be seen as a very reduced file size especially after combining all apps into one. Furthermore, I customised the app logo to match the branding of the company and made sure to have the app logo fit well too.
With more time, I would go back and find a better method of recognising AR cards from further away and from steeper angles as the device camera had to be within a certain and quite strict area on order to display the model and keep it there without visual glitching.
File Organisation & Handover Document
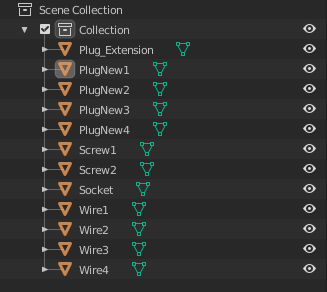
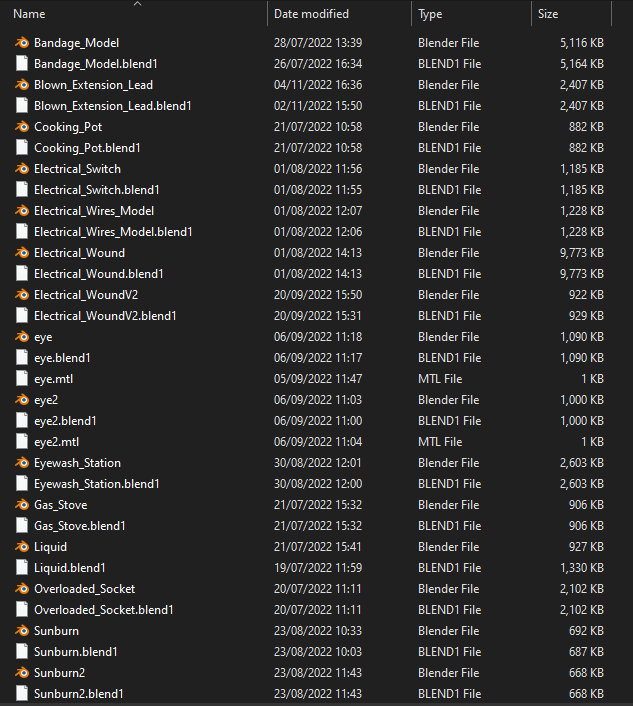
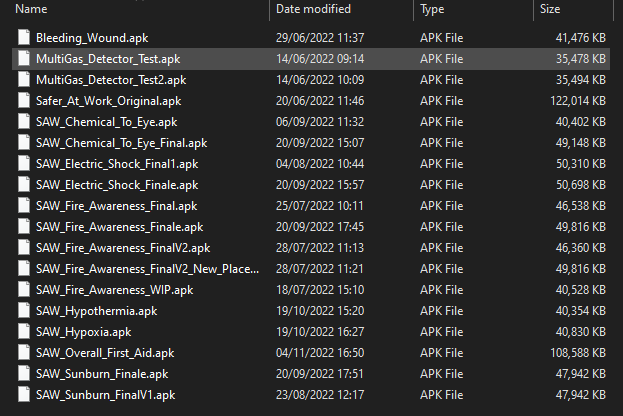
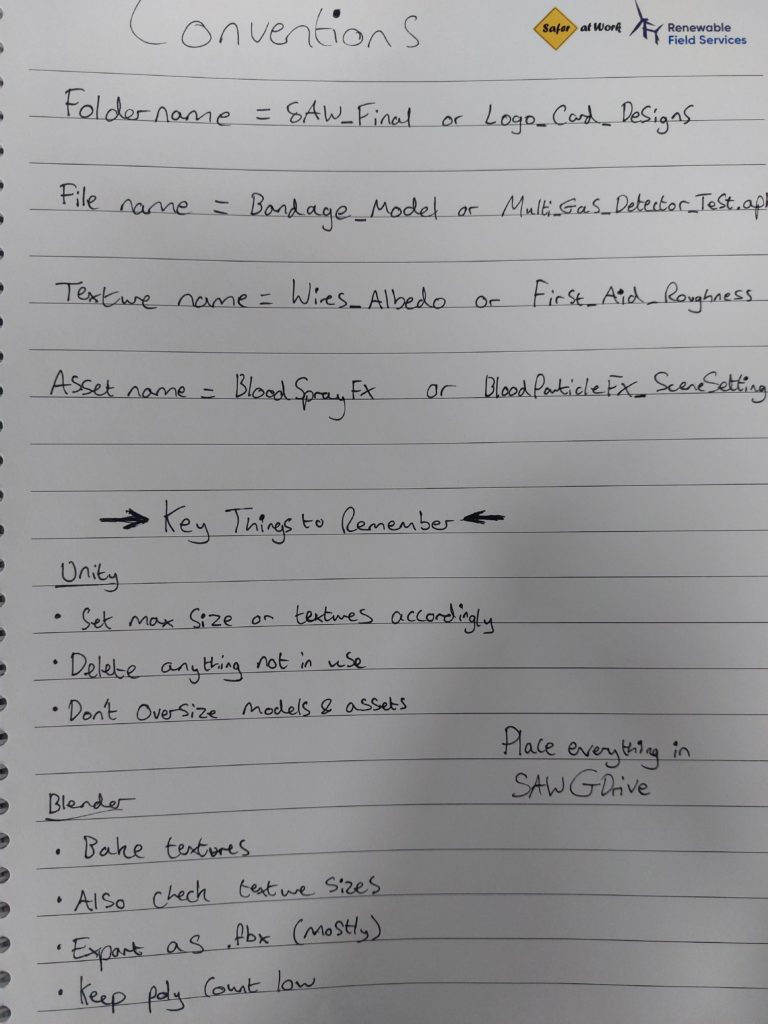
As this is a work placement with no guaranteed longevity with the company, and moreover for customers to use this software themselves, this work needed to be professionally logged. This would mean files needed to be named appropriately structured for future development by any developer, be it myself or an outside party. These files have used a naming convention recognisable throughout, be it in the blender or unity file assets, or the final downloadable apks.
A simple structure was kept throughout, and files were named, for example, Overloaded_Socket.BLEND or SAW_Fire_Awareness.apk. This is very clear to read and understand and so minimising any issues concerning confusion for future development.
As this is a work placement with the company, I am not going to add the files down below for download as they own all the software in development and so it is professional to keep these to the company and its employees strictly. And so a handover document will be prepared for my employer accordingly.
This project is ethical in relation to Sustainable Development Goal 13 (SDG13) because it offers an alternative to creating fires and using extinguishers and other resources, through a virtual simulation, and therefore is massively reducing any affect on the climate and encouraging a positive change.
